

xcube Viewer Flavour
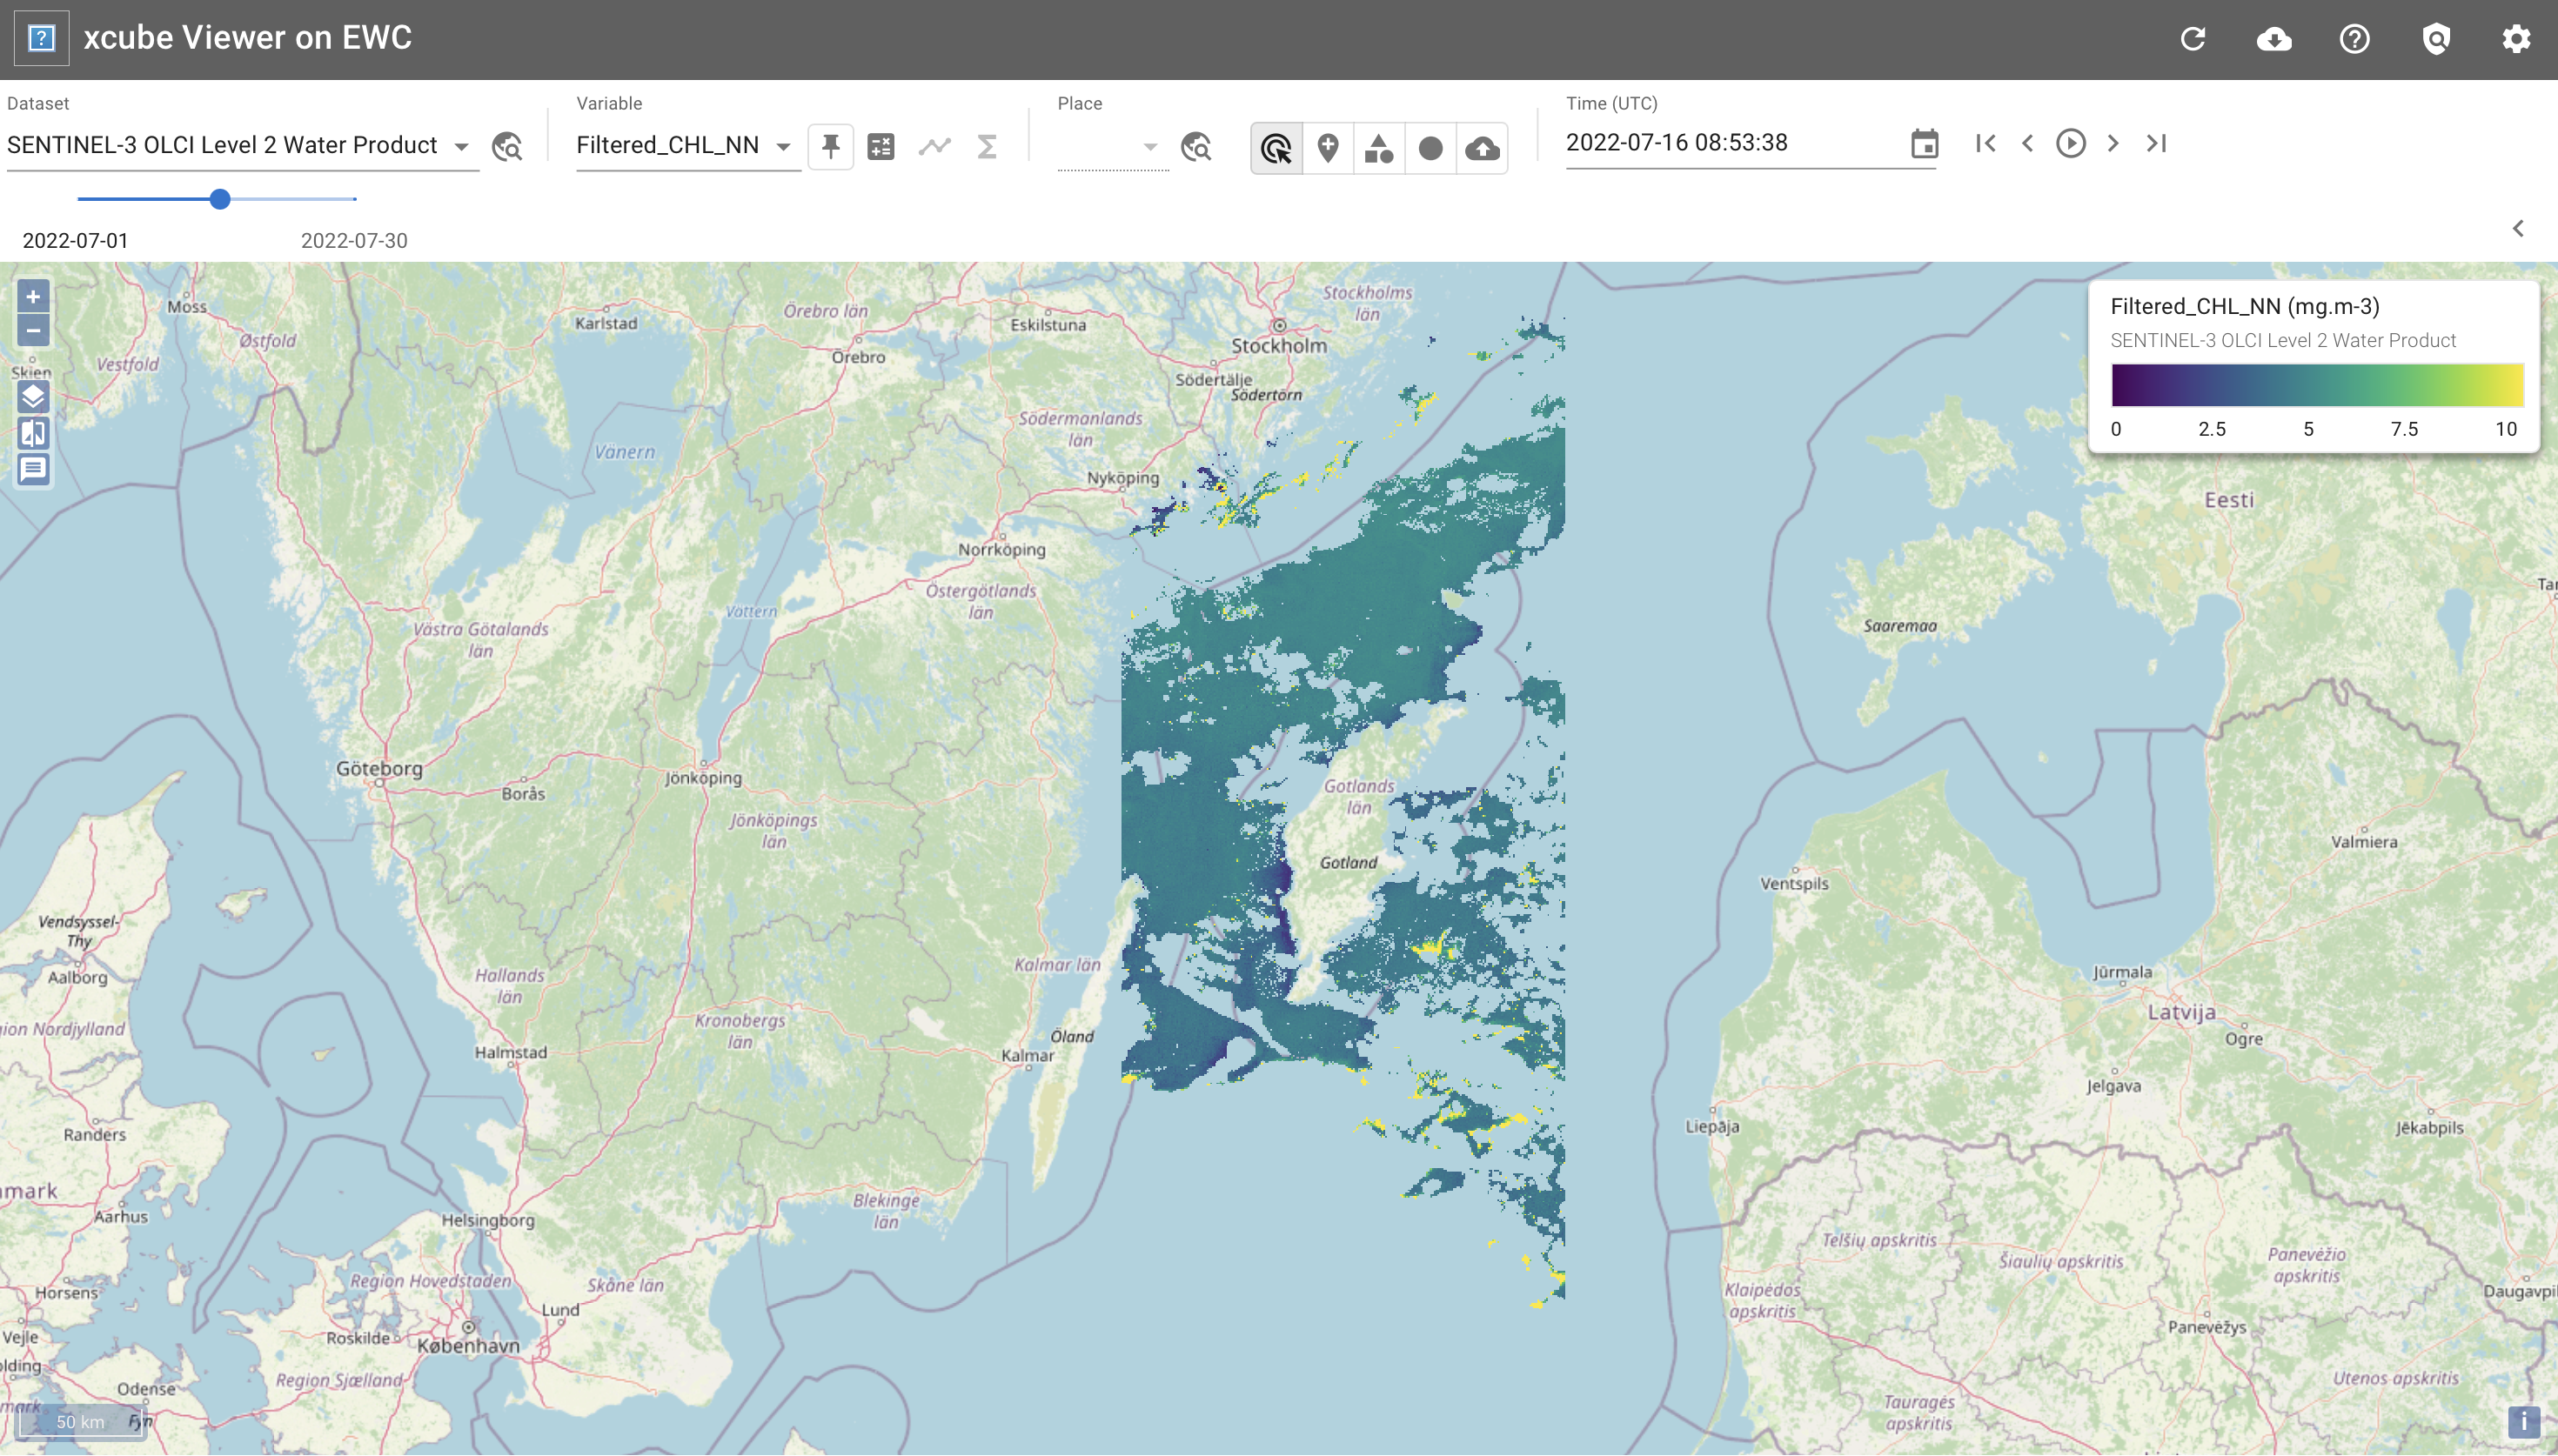
This Ansible Playbook configures an existing virtual machine running within the European Weather Cloud (EWC) with the xcube Viewer to visualize Earth Observation data in a user-friendly graphical user interface.
Functionality
The template is designed to:
- Configure a pre-existing virtual machine running Ubuntu 24.04, with public IP address, and a minimum recommended 8GB of RAM, with the xcube Viewer - a web-based visualization tool that enables users to:
- Interactively explore and visualize multi-dimensional Earth Observation data
- Display data from various sources including remote S3-compatible object storage
- View time-series data with animation capabilities
- Customize visualization with different color maps and overlays
- Access data through a user-friendly web interface at
http://<your-vm>.<tenancy-name>.<s|f>.ewcloud.host:80/viewer. More info about the standard for url creation here
For more information about xcube capabilities, please refer to the xcube Documentation.
Prerequisites
- Verify the
ssh-httpsOpenStack Security Group exists in your EWC tenancy💡 You may create Security Groups via this EWC Community Hub Item if pre-required ones are missing.
Usage
Deploy via EWCCLI
⚠️ By default, deploying via EWCCLI is only possible from within your EWC private network. You may override by passing the
--external-ipflag upon deployment. Caution is advised as this weakens security on the deployed VM.
1. Setup working environment
pip install ewccli
2. Configure access credentials
ewc login
3. Deploy
💡 To lean about EWCCLI deployment customization, checkout the EWC User Stories: I want to use the ewccli documentation pages.
ewc hub deploy xcube-viewer-flavour
Deploy via native tooling (Ansible)
1. Setup working environment
-
Install git (version 2.0 or higher )
-
Install python (version 3.9 or higher)
-
Install ansible (version 8.7 or higher)
-
If you plan to configure an existing VM, ensure it meets the minium requirements before proceeding:
- VM Image: Ubuntu 24
- VM Plan: 4 CPU cores, 8GB RAM, 40GB Disk
- Network: Private
- Security Groups:
ssh-https - Floating IP: Optional (not recommended from a security standpoint)
Otherwise, provision a new VM with above specifications before continuing (see EWC Getting Started: Provision a VM for details).
2. Clone the repository
git clone https://github.com/ewcloud/ewc-ansible-playbook-flavours-and-provisioning.git
2.1. Change to the specific Item's subdirectory
cd playbooks/xcube-viewer-flavour
1.2. Checkout a specific Item's version
⚠️ Make sure to replace
x.y.zin the command below, with your version of preference.
git checkout x.y.z
3. Download Ansible dependencies
💡 By default, Ansible Roles are installed under the
~/.ansible/rolesdirectory within your working environment.
Download the correct version of the Ansible dependencies, if you haven't done so already:
ansible-galaxy role install --force -r requirements.yml
4. Specify the target host and SSH credentials
Create an inventory file, to specify address/credentials that your local working environment should use to connect to the target VM.
Copy into the file one of the two snippets below, and replace the placeholders (i.e. values enclosed in < > characters):
-
To connect within the EWC private network
# inventory.yml
---
ewcloud:
  hosts:
    target:
      ansible_python_interpreter: auto
      ansible_host: <add the PRIVATE IP address of the target host>
      ansible_ssh_private_key_file: <add the path to local SSH private key file>
      ansible_user: ubuntu
      ansible_ssh_common_args: -o StrictHostKeyChecking=no
OR
- To connect from the public internet to a EWC public IP address
  # inventory.yml
  ---
  ewcloud:
    hosts:
      target:
        ansible_python_interpreter: auto
        ansible_host: <add the PUBLIC IP address of the target host>
        ansible_ssh_private_key_file: <add the path to local SSH private key file>
        ansible_user: ubuntu
        ansible_ssh_common_args: -o StrictHostKeyChecking=no
OR
-
To connect from the public the public internet to a EWC private IP address
⚠️ This requires an SSH Bastion to be already provisioned within your EWC tenancy.
# inventory.yml
---
ewcloud:
  hosts:
    target:
      ansible_host: <add the PRIVATE IP address of the target host>
      ansible_ssh_user: ubuntu
      ansible_ssh_private_key_file: <add the path to local SSH private key file>
      ansible_python_interpreter: auto

all:
  vars:
    ansible_ssh_common_args: >-
      -o StrictHostKeyChecking=no
      -o UserKnownHostsFile=/dev/null
      -o ProxyCommand="ssh -o StrictHostKeyChecking=no -o UserKnownHostsFile=/dev/null -o BatchMode=yes -W %h:%p -i <add the path to local SSH private key file> cloud-user@<add the PUBLIC IP address of the SSH bastion>"
5. Configure and apply the template
-
Interactive Mode
By running the following command, you can trigger an interactive session that prompts you for the necessary user inputs, and then applies changes to your target EWC environment:
ansible-playbook -i inventory.yml xcube-viewer-flavour.yml
OR
-
Non-Interactive Mode
💡 To learn more about defining variables at runtime, checkout the official Ansible documentation.
You can also run in non-interactive mode by passing the
--extra-varsor-eflag, followed by a map of key-value pairs for each available input (see inputs section below). For example:ansible-playbook \ -i inventory.yml \ -e '{ "tenancy_name": "your-tenancy", "federee": "EUMETSAT", "xcube_env_wipe": "no", "xcube_env_name": "xcube-demo", "conda_installer": "https://github.com/conda-forge/miniforge/releases/latest/download/Miniforge3-Linux-x86_64.sh", "conda_update_base": "false", "conda_prefix": "/opt/conda", "conda_user": "root", "xcube_config_location": "./templates/xcube-demo-config.yml" }' \ xcube-viewer-flavour.yml
Inputs
| Name | Description | Type | Default | Required |
|---|---|---|---|---|
| tenancy_name | Tenancy name for URL construction | string |
n/a | yes |
| federee | Federee identifier (EUMETSAT or ECMWF) |
string |
n/a | yes |
| xcube_env_wipe | Flag to delete existing conda environment where xcube was previously installed. Only yes will be accepted to approve |
string |
no |
no |
| xcube_env_name | Name of conda environment where xcube will be installed | string |
xcube-demo |
no |
| conda_installer | URI of the installer to use | string |
https://github.com/conda-forge/miniforge/releases/latest/download/Miniforge3-Linux-x86_64.sh |
no |
| conda_update_base | Boolean to decide whether base environment needs updating | bool |
false |
no |
| conda_prefix | Prefix where conda will be installed | string |
/opt/conda |
no |
| conda_user | User that will own the conda installation | string |
root |
no |
| xcube_config_location | Path of the config file for the xcube viewer | string |
./templates/xcube-demo-config.yml |
no |
Dependencies
💡 Upon execution, a SBOM (SPDX format) is auto-generated and stored in the VM's file system root directory (see
/sbom.json).
Applying this template will trigger the installation of the following open-source packages onto your desired target host:
Ansible Roles
| Name | Home URL |
|---|---|
| ewc-ansible-role-update-system | https://github.com/ewcloud/ewc-ansible-role-update-system |
| ewc-ansible-role-conda | https://github.com/ewcloud/ewc-ansible-role-conda |
Python Packages
| Name | Home URL |
|---|---|
| numcodecs | https://anaconda.org/channels/conda-forge/packages/numcodecs/overview |
| xcube | https://anaconda.org/channels/conda-forge/packages/xcube/files |